Written by: MATT FRIAUF, NOURISH EDUCATIONAL FARM COORDINATO
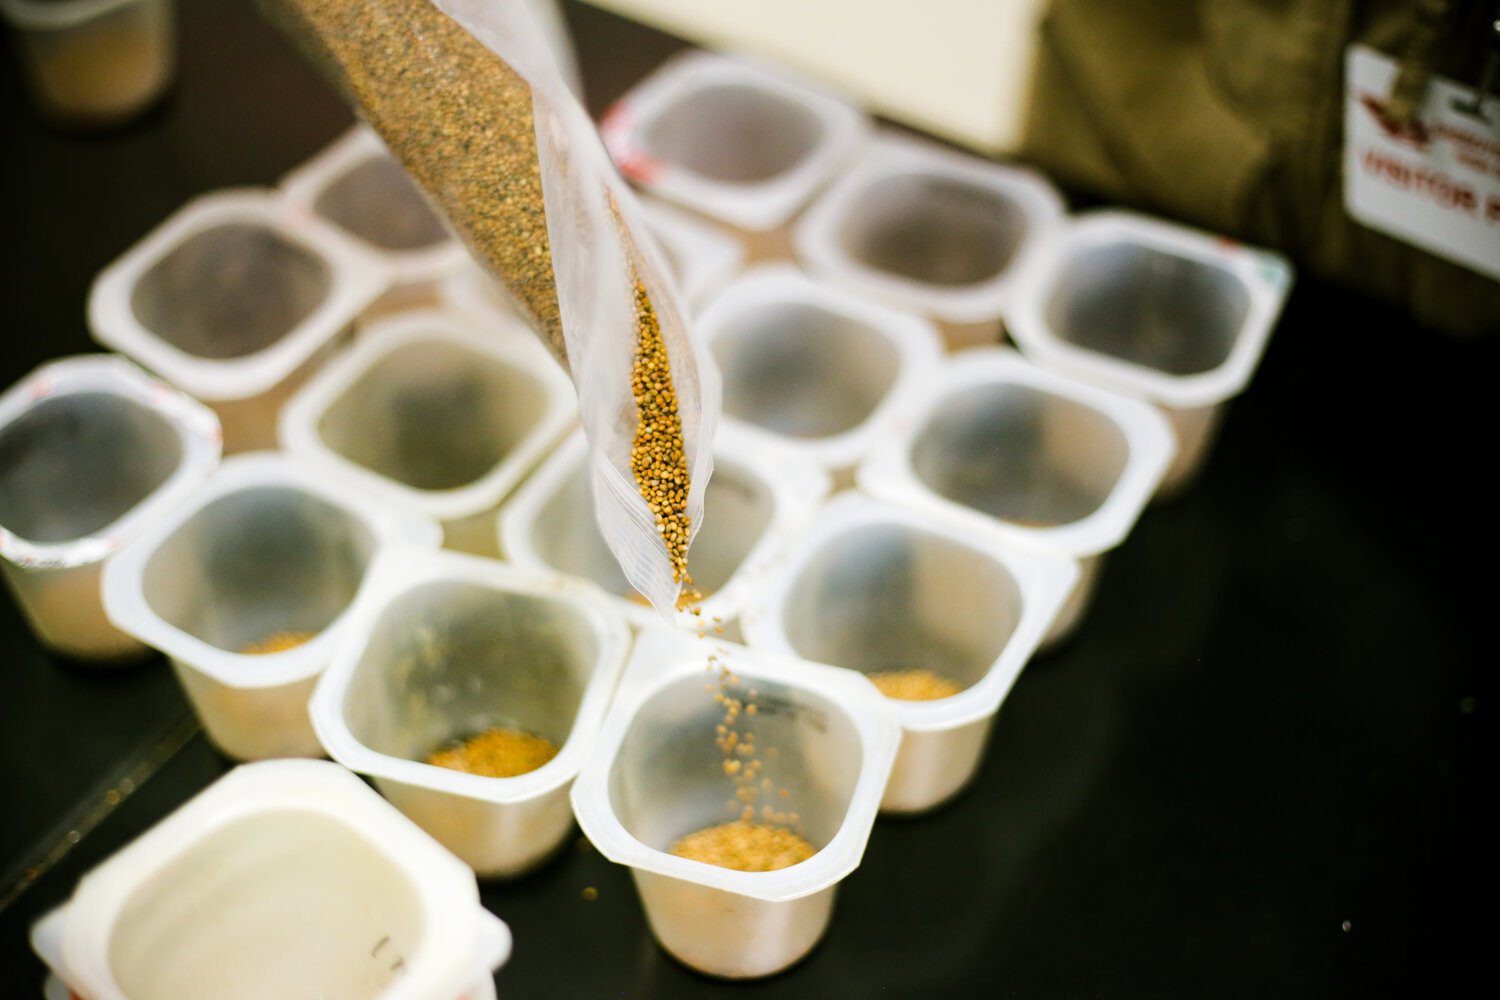
CHOOSING SEEDS
Selecting seeds is probably the most exciting part of the process for a lot of gardeners. Some will spend hours pouring over catalogues dreaming about that heirloom tomato or Belgian Endive. But for others, it can be overwhelming to choose from the myriad varieties and try to figure out which type of cipollini speaks most to your soul (it’s red marble, if you have one).
If you are in the latter camp, you can start out trying a few different varieties until you figure out your favorites. I think I did about a dozen tomato varieties my first season, now I’m down to 3-4 I really like.
Maybe you can’t even decide on what to grow. How do you know what you should grow? For many, tomatoes and peppers are easy choices. There are hundreds of varieties of each that you can’t get at the store with as many different flavor profiles. But you should give other, more quotidian vegetables a shot too. Onions are cheap and plentiful at the store and don’t have a huge range of flavors, but I just love growing them. They’re pretty easy to care for, and can last from August through the winter, which is a pretty satisfying feeling. I love just looking at a crate full of shiny, golden onions in my storage area, like a dragon sitting on a pungent treasure hoard.
Other fun things to try:
Potatoes - If you have some in your home getting wrinkly and sprouting, you’ve already got the seed!
Tomatillos - Like sweeter cherry tomatoes, and you’ll get about ten bushels off of one plant.
Radishes - Quick to grow. Also, pretty color.
Spinach - Grows well in the cooler parts of the season, and fresh spinach is just so dang good. Whenever harvesting spinach, I shovel about one handful of leaves into my mouth for every five harvested for later. Your ratio may vary.
SEEDING & GERMINATION
All you need is some potting mix, seeds, and something to put the former two items in. You can go out and buy 75-cell seeding trays, or little compostable pots, but an old egg carton works quite nicely too.
When seeding, feel free to seed more than you want to grow. You’re going to lose some along the way so it never hurts to have backups.
Now, until those seeds sprout, they’re going to want to be somewhere dark and warm and maybe a little moist. Enclosed cabinets under sinks can be great, or just cover your starts and stick them in the corner until they start to sprout.
SPROUTING
Once those little guys are poking above the soil, they’re going to want that light. A sunny window space, a grow light, or a cold frame are good options to keep the sprouts happy before it’s warm enough to be fully outside.
In this stage, while they are still little sprouts, they are vulnerable to damping off: a fungal disease that will begin with a slight discoloration where the stem meets the soil. Within a day or two, that sprout will wither away and die. Keeping the soil well watered, but not too damp is the key to preventing the fungal growth. Watering from the bottom and allowing time for the soil to dry before dark are your best bets, but you could also try sterilizing your potting soil if you are having a lot of problems with damping.
Here are some home methods of soil sterilization you could try: https://www.gardeningknowhow.com/garden-how-to/soil-fertilizers/sterilizing-soil.htm
So that should be enough to get you started and in the following weeks we’ll take you through the steps to get those starts into the ground, growing healthy, and eventually, onto your dinner table. In the meantime, you can consult the Farmer’s Almanac for more detailed information on seeding, and pretty much all things. https://www.almanac.com/content/starting-seeds-indoors
If you’re looking for additional resources on starting seeds, we encourage you to check out this blog post